

I’ll admit it, spin classes used to scare me. When I lived in Hoboken, new mom friends would ask me to join them for a spin class at our gym and I always declined. It wasn’t until a local intimate spin boutique opened down the street that I finally took my first class. I had no idea what I was doing but I was hooked.
Now, I’ve taken countless Peloton classes and in-person spin classes. I’ve taken classes at the Peloton studio in New York, at Soul Cycle, and at local gyms whenever I vacation. I started with the Peloton app and then moved on to the Peloton bike a couple of years later.
Over the last two years, thousands of people have purchased Peloton bikes, many of whom have never taken a spin class before and spinning is intimidating. You need to know the basics and proper form.
As a certified personal trainer and avid Peloton user, I’ve learned what to do and not do on a spin bike. Whether you’ve been taking spin classes for years or are new to Peloton or use the Peloton app on another bike, I think you’ll find these indoor cycling tips and mistakes to avoid useful.
This post contains affiliate links. See my disclosure policy for more information.
Disclaimer: I’m not a doctor. If you’re having pain or discomfort, please consult with a professional.
Want to stay up to date on Peloton news, blog posts, class lists, and favorite rides? Be sure to scroll down to the end of this blog post to sign up for the Friday Favorites Newsletter.
Here are some easy and quick fixes that not only can improve your ride but help you to prevent unnecessary injuries.
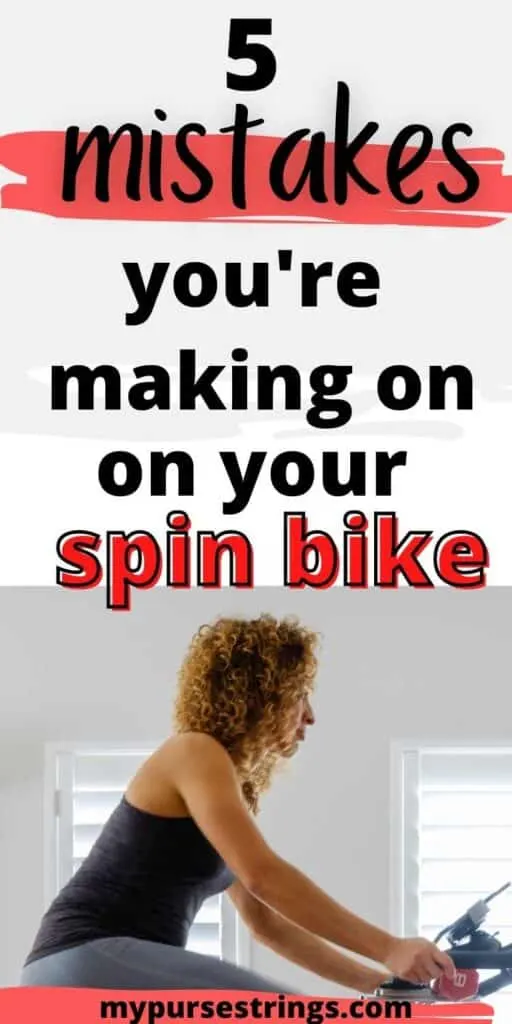
Mistakes You May Not Realize You’re Making On Your Spin Bike
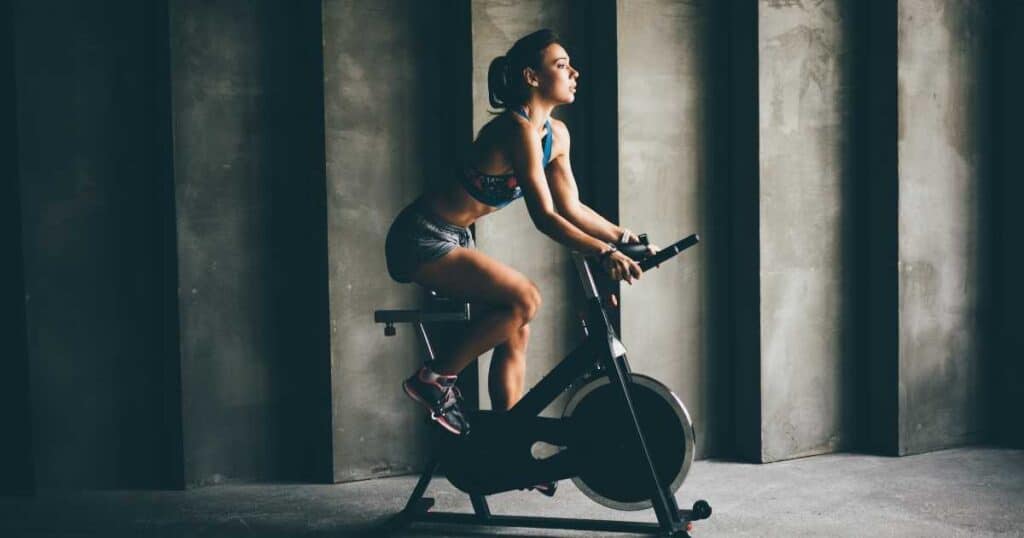
1. Not Clipping In
From day one, you need to clip into the pedals. If you use regular shoes or toe cages on a spin bike, you’re doing yourself a disservice. Get rid of them now.
Yes, you’re not alone. Clipping in and out of the pedals of a spin bike is overwhelming. There’s a learning curve but you will get used to it.
Taking a spin class without being clipped in is like skiing down a hill without skis.
I just made up that analogy but it’s pretty accurate. Sure, you can try to do it, but your form will be way off, you’re likely to injure yourself, it’s not very efficient, and it’s just not the intended experience.
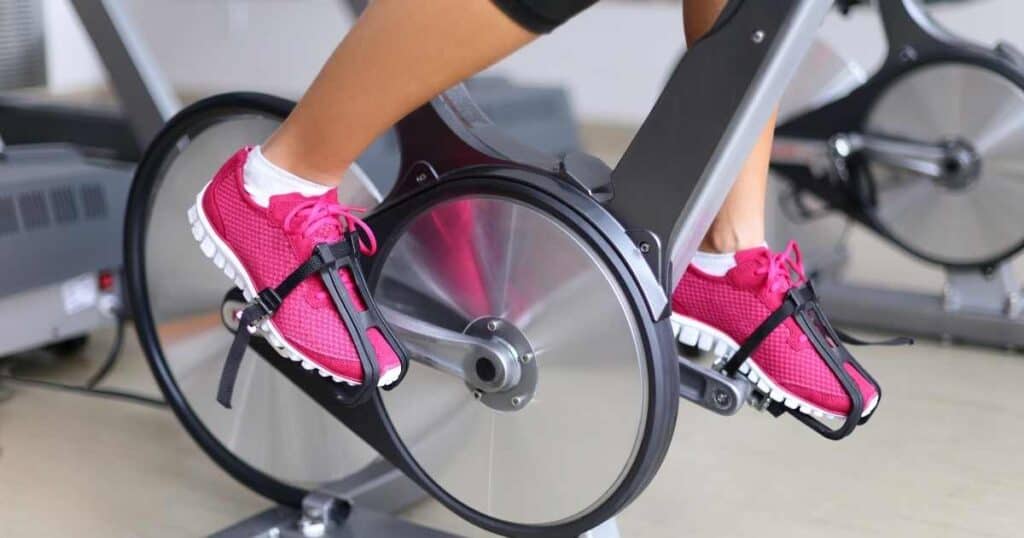
Clipless Pedals: Look Delta vs. SPD
If you’re new to spinning, you may be confused by the term “clipless pedals” when in fact, you’re clipping into the pedals. Clipless medals mean that you clip in. You’ll hear a clicking sound when your foot locks into the pedal.
Peloton uses Look Delta pedals. Other spin bikes use SPD pedals. Each requires its own type of spin shoe and cleat.
SPDs are typically easier to clip in and out of. My SPD shoes have recessed cleats so I can walk around the house without damaging my hardwood floors. You can find a big variety of SPD compatible shoes on the market so if you don’t like your Peloton shoes, you may want to consider changing out the pedals to SPDs.

This is an easy switch and if you already own SPD shoes as I did, you can simply install your SPD pedals onto your Peloton bike during assembly.
You don’t have to get your shoes (or other accessories) from Peloton. But no matter what shoes you choose, you’ll want to clip in.
Why You Want To Clip In During a Spin Class
Reason #1: Clipping in gives you a more secure, safer ride
I can’t imagine not being clipped in during a spin class. Taking an indoor cycling class is way different than sitting on a stationary bike for hours on end as I did in high school.
For example, in a Peloton class, you’re up, you’re down, you’re forward, you’re back. You’re pushing the pedals forward in high resistance, you’re racing ahead at a high cadence during lower resistance. You may even be lifting light weights.
Just the other day, I sat down too quickly, wobbling back onto the saddle. I was thankful for my feet securely locked into the pedals that helped steady me as I came back down.
When you’re cycling at speeds of 100 RPM, your foot could easily slip off the pedals if you’re using regular shoes or a toe cage. Not only could you twist your ankle or worse, but you could also severely cut your foot.
Reason #2: Clipping in gives you a more efficient workout
Pedaling on a spin bike is really a push and pull movement on the pedals. Christine D’Ercole discusses engagement and activation of various muscles during proper pedal strokes in this article. She says, “the more efficient your pedal strokes, the less energy you’re wasting, and the more productive you will be on the bike.”
Efficiency equals power on the bike which leads to greater outputs and possibly a higher ranking on the leaderboard.
TIP: If you’re having trouble clipping in and out of the bike, you can adjust the tension of the pedals. If it’s too loose, your shoes won’t clip in right. If it’s too tight, you won’t be able to remove your shoe.
If you have a Peloton and have trouble clipping in and out (i.e., you leave your shoes attached), check out this video below.
On my SPD pedals, I can easily adjust the tension indicated by a plus and minus sign. Other pedals may require an Allen wrench like in the above Peloton video.
2. You haven’t adjusted your seat and handlebars correctly
Some people share a Peloton or other spin bike with family members and keep it at one setting. Meaning, they keep their handlebars and/or seat at one position without putting it back for their spouse or child.
A spin bike is not a case of “set it and forget it.”
No two people are the same. Two people can measure the exact same height but have way different proportions. Maybe your daughter is all legs and you have a longer torso. Perhaps you have shorter arms.
You cannot compare or adjust your spin bike to others of a similar height and weight. You need to test it out yourself and determine what works best for you.
When you purchase your bike, whether from a fitness equipment store or a Peloton shop, see if the employees can fit you for the bike. This way, you’ll be ready to go on delivery day. Or, when your bike gets delivered and assembled, you can also sit on the bike, and ask their opinion as to correct settings.
Once you know your correct settings, remember your numbers. Some people even use a paint pen or something similar to physically mark their settings on the bike.
Not adjusting your seat properly can lead to hip, back, shoulder, neck, knee, and foot pain, among other things.
How to adjust your spin bike seat
Your bike’s saddle moves forward and back, and up and down. Stand next to your bike. See where your hip lines up. You want the bike to be in line with your hip/ top of your thigh.
When riding, you’ll want a slight bend in your knee when your leg is pressed down on the pedal. When your leg is bent mid-cycle, you want the front of your knee lining up with the center of the pedal.
The video below can help you set up your bike.
Also, Peloton instructor, Matt Wilpers offers paid virtual bike fittings on his website.
For the Peloton fans in your life, check out this Ultimate Peloton Gift Guide blog post including Peloton-inspired products and exclusive My Purse Strings promo codes.
3. You’re Gripping the Handlebars Too Tightly
I always appreciate it when a Peloton instructor reminders us not to grip the handlebars. For most of class, your fingers should lightly rest the handlebars, giving you a bit of support. And, if you watch the instructors closely, you will see this is how their hands are positioned.
Your strength and support on the bike should come from your core. This is especially true when you’re standing up in the saddle.
A tight grip on the handlebars can cause wrist and hand pain. It also causes you to scrunch your shoulders up towards your ears. You should ride a spin bike relaxed with your shoulders down.
If you’re holding onto the handlebars too tightly, check your other bike adjustments. Perhaps, that’s why you don’t feel steady and supported on the bike.
You’ll want to make sure your handlebars are in the right position. Note, the Peloton bike’s handlebars only move up and down and not closer or further away from you.
How to adjust your spin bike handlebars
Most people choose to line up their spin bike saddle directly with the handlebars. This will help to engage your core during the ride.
However, if you’re new to the bike, pregnant, or have back pain, you may instead choose to raise the handlebars.
Either way, your arms should have a slight bend when leaning forward, not locked elbows. You want a straight spine and don’t want to round your shoulders or back.
For anyone who has back, neck, or shoulder pain or strain, is petite and has trouble reaching the handlebars of your spin bike, or simply wants to improve your alignment and posture, read this post about handlebar extenders.
4. Poor Foot Adjustment on the Bike
When people complain about pain on a spin bike, it’s often related to their feet (assuming they’ve done everything mentioned above already related to bike settings).
There are several reasons your feet may hurt: cleat adjustment, the wrong shoes, and incorrect pedal positioning. Remember very often, feet issues on a spin bike causes pain and discomfort elsewhere on your body.
Reason #1: Cleat Adjustment
You may experience discomfort if you didn’t attach your cleats properly.
How to adjust the cleats on your spin shoes
Whether you buy your shoes online or in a store, any bike store can help you attach the cleats to the soles. After watching some YouTube videos and cycling for a while, I wanted to make sure mine were correctly placed. I brought my shoes into a local shop and they double-checked it for me (they were fine).
Your cleats should not be towards the front of your shoe but rather centered with the ball of your foot.
Peloton instructor, Christine D’Ercole has a great explanation here on the precise placement of your cleat. If you’re using SPDs, this video is excellent.
If your feet go numb during a ride, one explanation is that your cleats are not positioned correctly.
Reason #2: Your shoes don’t fit
Your shoes are too narrow, too tight, too hard, or don’t have enough support.
Another easy fix could be your socks. Are they bunching up in the front causing numbness in your toes? I like Bombas (plus, I love their mission statement).

When you put your shoes on are you tightening them too much? I have velcro straps on my shoes and there have been times when I have to stop my ride to loosen my shoes.
Reason #3: You’re Pointing Your Toes Down While You Ride
Your feet should be flat. Sometimes new riders will pedal with their toes pointing down. Perhaps, your cleats are incorrectly placed. But maybe you just need to focus more on form.
Pointing your feet down will also cause numbness in your feet and toes.
If you have the Peloton, I highly recommend the Power Zone rides. Matt Wilpers often will have you pedal with just one foot and then switch to the other foot. This really helps to focus on your foot’s correct positioning and pedal strokes to improve your endurance and ride.

5. Not Following a Program
There are many reasons why I love Peloton. Probably the biggest reason goes back to the beginning of this post. Working out can be overwhelming. People often don’t stick with it because they don’t know what to do.
Peloton takes away the guess work. You don’t have to search for a YouTube video. You don’t have to figure out how long you should ride or how many repetitions of an exercise you should do. The instructors lead you through everything (and I’m not just talking about the bike. There’s also yoga, strength training, outdoor classes and more).
TIP: If you need help picking out a Peloton ride, here are some of my favorites.
If you don’t want to get injured and you want to get the most out of your workouts, you need direction. This is one of my favorite programs with instructor Tunde.
Pedaling a spin bike at a high resistance for long periods of time can be dangerous to your joints. Most classes switch from high resistance for short bursts to lower resistance. A good instructor knows how to safely and effectively bring you through this sequence.
Likewise, sitting on a bike for an hour with almost no resistance is probably doing little to help your physical health.
I have friends who say that they spin every day for an hour and can’t lose weight or don’t feel stronger. Mindlessly pedaling without a program in my opinion does very little. It’s also how I overtrained and injured my knee in high school, which continued to bother me for years.
If you have the Peloton, try challenging yourself to try something new. Doing the same thing every day won’t necessarily get you the results you want. Take a live class or a new instructor. Take a scenic ride. Try a 20-minute HIIT, add in a Peloton bike bootcamp class. Change it up.
Final Thoughts
I’ve tried out a lot of home workouts. Not only are Peloton instructors charismatic and motivating, many emphasize safety, body alignment, and form in every class.
Be sure to sign up for the Friday Favorites newsletter to get access to all my free downloads, favorite Peloton rides of the week, and the newest Peloton blog posts.
Plus, get exclusive discounts to the mypursestrings shop.
Check out MyPurseStrings on Substack. Get the newest blog posts, my favorite finds, and read all new and past newsletters there.
Do you have any questions about the Peloton bike or learned something new? Comment below.


Michelle is a content creator and certified personal trainer. Proving it’s never too late to reinvent yourself, she’s a former attorney and teacher who loves to do the research so you don’t have to. She takes a deep dive into each topic and writes about her wellness journey here. She loves trying out new workouts, fitness tips, healthy foods, and products to share with you. This native New Yorker recently made the move to the suburbs of Minneapolis, where she lives with her husband, two kids, and two dogs.